Easter Shell Crafts
We hope you’re able to join us for Easter in the warm coastal breezes of Sanibel, but if you can’t, you can still have some Sundial fun wherever you are by making some of these Easter shell crafts! Use some of your favorites you’ve collected from previous trips to Sundial.

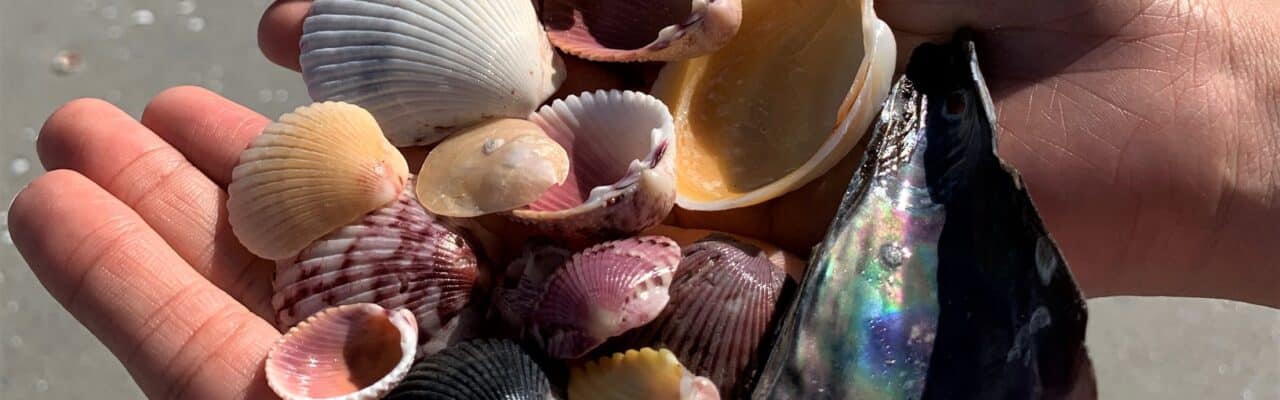
Dyed Seashells
Photo from Martha Stewart – Manal Aman
Materials:
- White seashells
- Food coloring
- White vinegar
- Bowls or containers
- Spoons/tongs
- Newspaper/paper towels
- Optional: Drying rack
Instructions:
- Switch it up this year and dye seashells instead of Easter eggs! To ensure a clean and manageable workspace, you will first need to lay out newspapers or paper towels.
- Set out a container for each color dye and fill the containers with one cup of hot water. The container will need to be deep enough to completely submerge the shell.
- Next, mix one teaspoon of vinegar and about 20 drops of food coloring in the water. The more food coloring you use, the more vibrant the color! The time soaked will depend on what shade you would like your shell to appear. Light colors ~ 5 minutes, deep colors ~10 minutes.
- Use either a spoon or a tong to help remove the shells from the dye to avoid staining your fingers.
- Finally, line a drying rack or tray with paper towels, then carefully place your shells on the paper towels to dry and there you have it, a new unique set of dyed seashells for display!

Seashell Easter Friends
Photo from Glued to My Crafts Blog by Stacey Gibbon
Materials:
- White Seashells
- Craft paint or paint pens
- Variety of paint brushes
- Two large paper plates
- Small googly eyes
- Feathers
- Foam paper/felt
- Glue
Instructions:
- This is a fun, simple and creative craft for kids! First, take out two paper plates and place the seashells on one and small dots of paint on another.
- To make the Easter-themed friends, paint the front of the shells to look like a bunny or chick. When you are done painting, set the shells to dry.
- After they are completely dry, add two drops of glue near the top of the shell and press googly eyes into the glue dots.
- Use your imagination and add any other fun touches including bunny ears, feathers, etc.!

Mermaid Easter Eggs
Photo from A.C. Moore
Materials:
- 5” wooden eggs
- Air-Dry modeling clay
- Adhesive embellishments (jewels, sequins, small shells, etc.)
- Metallic acrylic paint
- Paint brush
- Icing tips
- Gloves (optional)
Instructions:
- Another way to take Easter egg decorating to the next level! Start by taking the modeling clay out of the packaging and pouring quarter sized drops of paint into the middle. Knead clay until paint is absorbed and continue adding drops of paint until the clay takes a metallic color.
- Wrap the clay around the wooden egg and smooth the sides to cover all surfaces. To make the egg shiny, add a thin layer of paint on the surface.
- While the clay is still soft, add on all the embellishments, starting with the large pieces and then filling in spaces with the smaller items. Get creative and use the icing tip to make pattern designs.
- Allow the clay to dry overnight and then you are all set to show off your masterpiece!

Seashell and Sand Egg Decor
Photo from Pinterventures
Materials:
- Paper Mache eggs
- White chalk paint
- Desert sand acrylic paint
- Small white ark seashells
- Hot glue/glue gun
- Paint brush
- Mod Podge
- Sand
- Container
- Egg carton
Instructions:
Two crafts in one! These decorated eggs go perfectly together and serve as beautiful decorations that can stay up year-round, unlike some Easter decorations. Picture these on your mantle or as a table centerpiece!
Seashell Eggs
- To begin, you will need to paint the paper mache eggs white and separate the shells into small, medium, large, and broken piles. This will make it easier to piece together when you are working.
- Add a glob of glue to the top of the egg and add three shells in a circular shape, overlapping a bit. Try to add them quickly before the hot glue dries!
- Next, add a semicircle of glue under the first shells and attach new shells slightly overlapping the ones on top (TIP: dip the top of the shell in the glue first so that it can be more securely attached to the other shells). Continue this pattern all the way around the shell and for future rows.
- When you are about halfway, flip the egg upside down and press the shells firmly onto the egg to ensure they are attached. Continue adding glue and shells to completely cover the egg.
- To complete the shell puzzle, find a small or broken piece to finish covering the final open spot on the egg.
- Once you pull off all the excess glue strings, you have completed the first egg in this decor set!
Sand Eggs
- For sand-covered eggs, start by painting the paper mache egg with the desert sand acrylic paint and then while the egg is drying, fill a container with sand.
- After the paint is dry, apply one coat of mod podge on half of the egg by dabbing the mod podge, not painting it. Press the mod podge-covered side of the egg in sand and then do the same with the other side. Place the sand-covered egg on an egg carton to dry.
- Once completely dry, add another coat of mod podge and apply a second layer of sand as previously instructed. Again, let this dry completely to ensure the sand doesn’t smudge.
- Apply a final coat of mod podge to the egg, which will seal the outer layer of sand. Let dry and enjoy! You have now completed both designs in this decor set!
These crafts are the perfect way to create a keepsake out of any old shells, sand, or souvenirs you have collected on various trips! Make sure to share your creations with us on Sundial social media and let us know if you have any other creative Easter ideas. Happy crafting!