More Shell Crafting Ideas
Winter is one of the best times of year to shell on Sanibel Island. According to our resident experts at Sanibel Sea School:
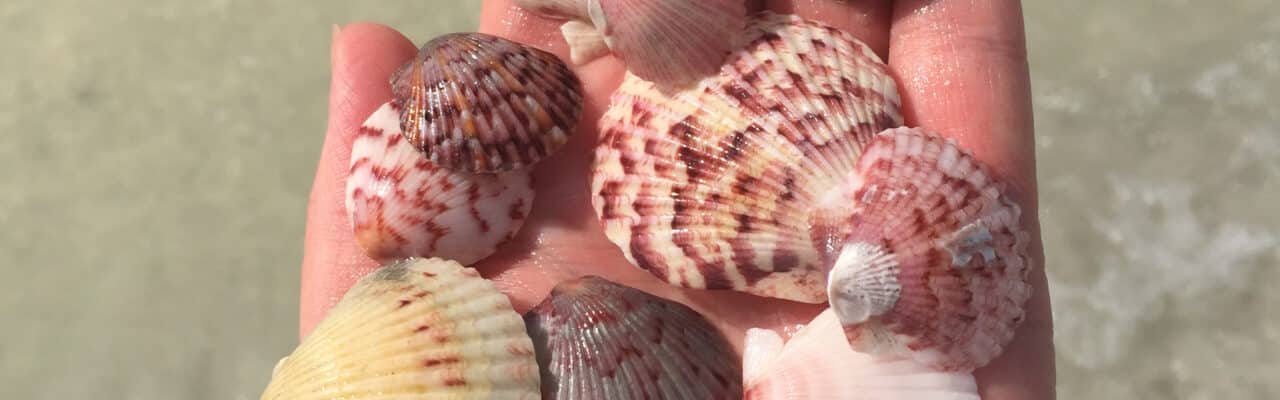
The winter months often bring strong weather fronts and, with them, great opportunities for shelling. When fronts arrive, there are usually strong winds that stir things up and create rough seas. The resulting waves wash many gastropods and bivalves into shallow waters or all the way ashore. We encourage you to enjoy exploring the treasures on the beach and to take advantage of how many fantastic shells are up for grabs. If you have questions about what you find, you are always welcome to visit us at Sanibel Sea School. Our classroom is located near Sundial’s main pool deck.
With this overabundance of shells on our shores, we thought it was the perfect time to share a few more shell crafting ideas with you. Shell crafts are the perfect way to showcase your favorite finds and are a great reminder of vacations past.

Ocean View Shadow Box
The ocean view shadow box is the perfect way to showcase your beach souvenirs. All you’ll need is a small shadow box, a photo from your beach vacations, sand and an assortment of smallish shells. Open up your shadow box and lay out our shells against the glass on the front portion of the shadow box facing out. Attach your photo to the back of the box and begin adding your sand over the shells. (Note: these instructions may vary depending on the construction of your shadowbox) Put your box together and give it a light shake to settle your sand and shells how you like them. Hang somewhere you’ll see and enjoy your vacation memories!

DIY Shell Planter
This is a great project for anyone with a big collection of bivalve shells, like clams, oysters, mussels, scallops, etc. These planters will be the perfect addition to your sunroom or porch. You’ll just need a small pot, a large collection of shells and a glue gun. Before you start gluing, arrange your shell pattern on a flat surface. This will make your actual assembly go much faster! You can really use any kind of shells to cover your pot but we like the layered uniform look of the bivalves. Once you’ve decided on your pattern, start gluing, making sure to let your top row hang over the edge a bit to conceal the pot.

Decorative Beach Bottles
This is the perfect project to mix and match some of your smaller shells with a big showstopper. You’ll need a glass bottle with cork, sand, a large shell, a collection of small shells, a funnel and a glue gun. Funnel your sand into your bottle until it fills about half way up. Next, pour in your small shells so they mostly cover the sandy surface. To finish, glue your large shell to the cork and seal up your project. You can also add glitter, beads or sea glass to the sand or on top with the shells to get a little pop of color!