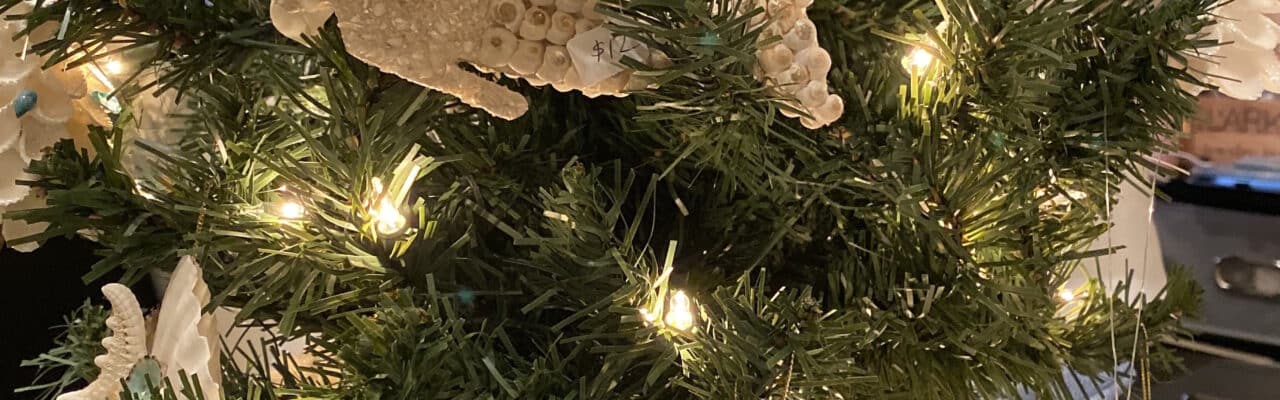
Shell Ornaments for your Christmas Tree
‘Tis the season for the shells to migrate to the tree! We recently visited a Christmas Craft Fair and gathered our favorite shell ornaments for inspiration. You don’t have to be in Florida to bring the beach to your holiday décor!
Have you been collecting coquina and tiny snail shells for years with no idea what you’d do with them? These first three ornament ideas are the perfect solution for your tiny shells!

Tiny Shell Tree
For this beachy balsam, you’ll need a collection of tiny bivalves, a glue gun, foam or cardboard cone and a ribbon to hang it. Trim your cone to size, about 3 inches, and sort out the small shells you’d like to use. You can use all one type or you can alternate colors/types between rows. Begin by gluing the back of a shell to the bottom edge of the cone. Continue like this until you have completed the full circle and then continue, one row at a time, until you reach the top of the tree. Once you reach the top, place your hanging ribbon between two shells and glue them together, then glue to the top of your ornament. This will act as the star of the tree and attach your hanger.

Tiny Shell Wreath
To bring this wave swept wreath to life, you’ll need a collection of tiny bivalves, a glue gun, a cardboard ring and a ribbon to hang it. Begin by gluing your hanger to the top edge of your cardboard ring and then start attaching the back of your shells to the cardboard ring, in a fanning out shape. Once you have the first layer complete, continue by gluing small clusters of shells on a rosebud pattern on top of the foundation layer to give the shells a more wreath-like look.

Tiny Shell Sea Horse
To put the seashell in this sea horse, you’ll need a collection of tiny bivalves, a glue gun, a cardboard cutout of a sea horse and a ribbon to hang it. Start by gluing your hanger to the cardboard and then begin attaching the inside of your shells to the cardboard template. Try and follow the shape of your template and begin from the outside in, this will give you cleaner edges. Once you’ve laid down your first layer, begin to add more shells on top to cover and gaps and build out the body of the sea horse.
Note – This craft can be adapted to any animal shape you like, just swap out your cardboard stencil for a new shape!

Tree Urchin
To get your tree urchin standing tall, you’ll need 2-3 small urchins, a glue gun, a small decorative shell for the star and a ribbon to hang it. Begin by stacking your urchins from biggest to smallest and gluing them together. Next, attach your hanger to the back of your decorative shell. Glue the tree topper to your tree and you’re all done!

Turtle Shell
To make this tree-dwelling turtle a reality for your tree, you’ll need 6 univalves (4 of similar size, one smaller and one larger), an urchin or large bivalve, a glue gun and a ribbon to hang it. Begin by flipping your urchin or large shell over and attaching your four mid-size univalves, 2 on either side. Next, attach your small shell to one end for the tail and your large shell to the other end for the head. Flip your turtle over and attach your hanger to the top of its shell and you’re ready to go!